
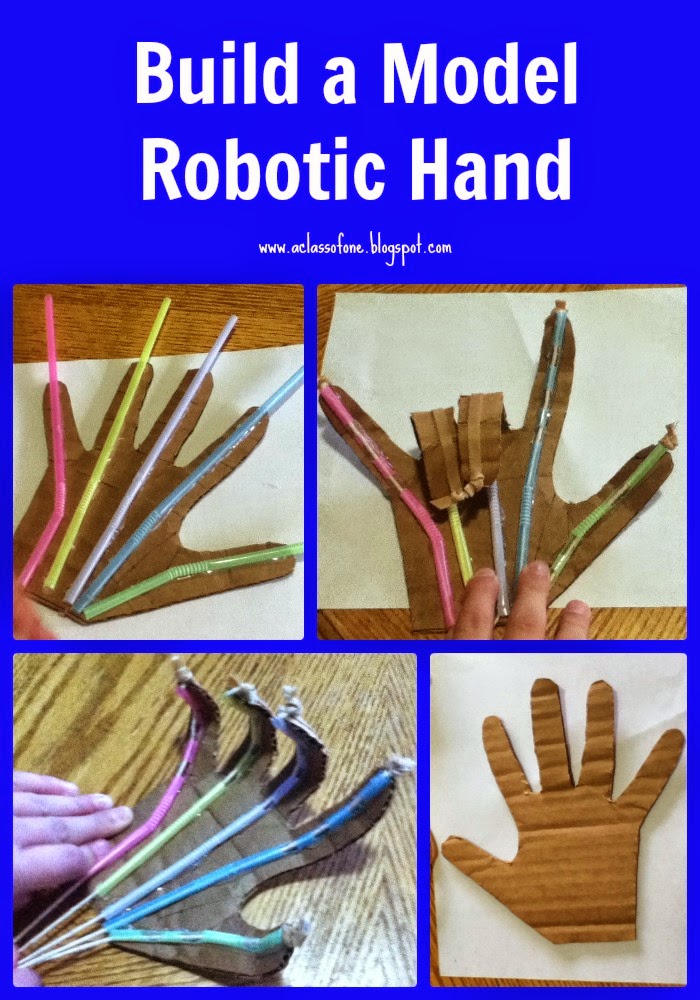
As we continue our journey through Apologia Anatomy & Physiology, I have found lots of cool projects to keep us busy and to reinforce the lessons we are learning.

From this project, we learned that hands function because of the way the tendons are aligned. We found the tendon in our wrist that, when pressed, causes the fingers to twitch and curl. It is pretty amazing to study the handiwork of God and realize all that a hand is capable of performing.
We went to the Supercharged Science website and watched the lesson on how to build the robotic hand:

Then we gathered our supplies:

- cardboard
- scissors
- utility knife
- bendable straws
- string or yarn
- thick rubber bands
- hot glue gun and glue sticks
- pencil

We glued the bendable straws on each finger, so that the bendy part was on the hand and the long part of the straw was on the fingers. We trimmed the edges of the straw to align with the edge of the fingers.
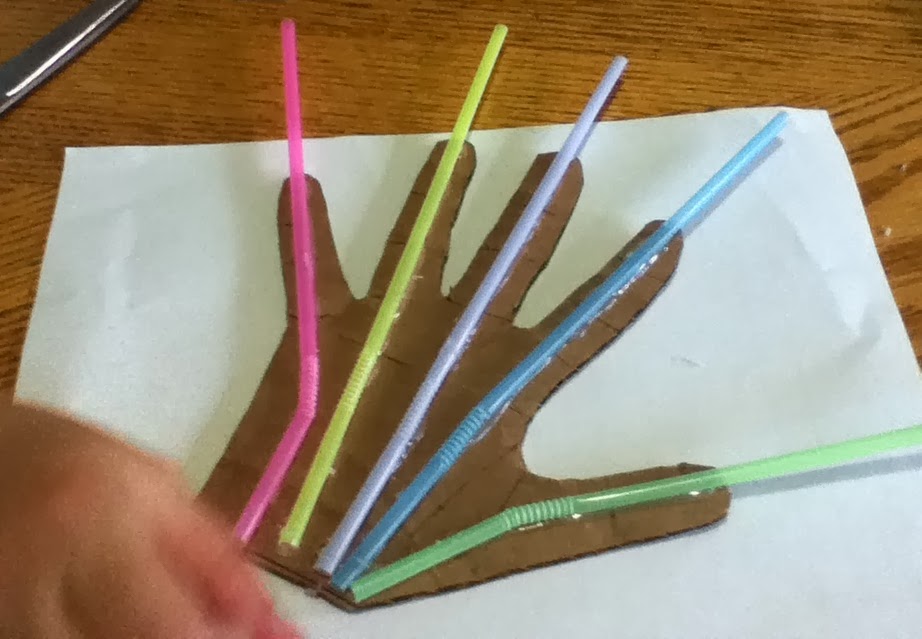
We took our pencil and marked on the fingers of the cardboard hand the location of the joints and knuckles from the real-life hand. Then we took the utility knife and carefully scored the back side of the hand on those lines, so that the fingers would curl and bend properly.

Using our pencil marks as a guide, we carefully sliced a section of the straw off (at 45 degree angles) where the joints are located. This helps the 'fingers' to bend properly as well.

When we are done with all the joint cuts, it looks like this:

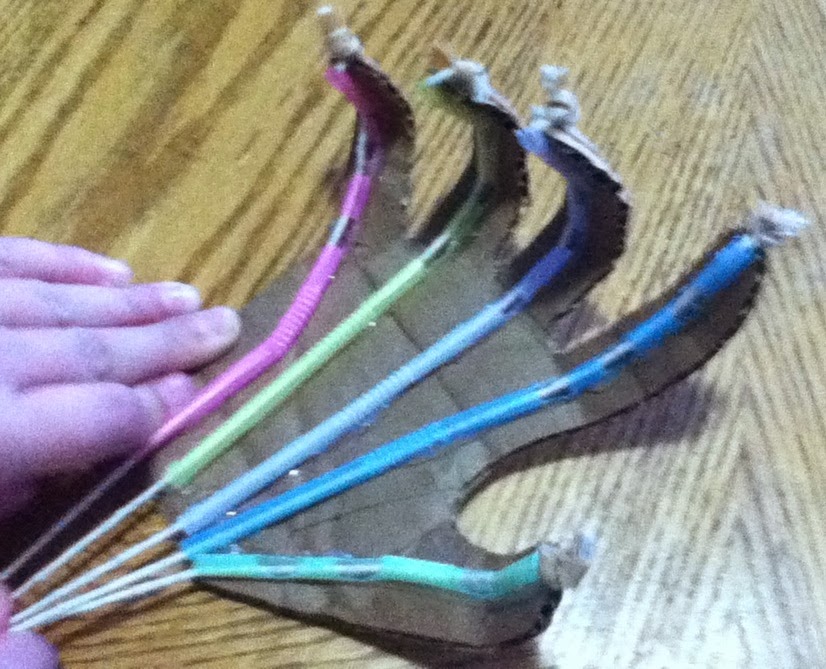
We took string and ran it through each straw, leaving a long tail out both the top and bottom of the straw. We cut the rubber bands so that they would be a long strip instead of a circle. At the top of each finger, we tied the string and rubber band ends together in a small knot.

Turning the hand over, and with fingers straightened out and laid flat, we hot glued the loose ends of the rubber band down to the back of the hand. The glue should only be right at the end of the rubber band. The rest of it needs to stay loose so that it can freely move and guide the fingers. The rubber bands help the fingers to return to their natural state after being curled up.

Once the hand was completed, we had lots of opportunity to 'play' with it and see how the tendons in a hand function, by pulling downward on the strings.
One of the favorite things to do with the hand was to make sign language letters and spell out words and phrases....or to say "I love you"!

This was a great project and we were very happy with the outcome. Everyone who has seen it is fascinated by it, and it clearly demonstrates the movements of a hand. I highly recommend this project!
Copyright 2012-2013 - "Be The One" - www.aclassofone.blogspot.com All rights are reserved. No text, photos, or content may be reproduced without direct permission from the author.This post is linked with Apologia's Homeschool Science Share & Tell

What a wonderful project! Thanks for sharing!
ReplyDeleteYou're welcome! Enjoy! Thanks for stopping by my blog.
DeleteThis is a great idea! Thank you!
DeleteWow, I love this hands on project! So cool!! Will definitely have to keep this in mind for when the kids are older, though it looks like it could be fun now.
ReplyDeleteThanks for sharing with Throwback Thursday Blog-Style and being a faithful participant. I just wanted to let you know that Throwback Thursday will be taking a break for Christmas, but we will be back the next week in the new year!
Wishing you are your family a very blessed Christmas and a wonderful new year!
This is a wonderful lesson! I work with the youth of my local Boys and Girls Club in the Art room and this project would be amazing to do!
ReplyDeleteThis is brilliant. My kids will love it. Thanks so much for sharing.
ReplyDeleteCan I ask how long it took for the whole project?
It took about an hour and a half start to finish, after assembling all the supplies.
DeleteI love this! can I use this idea for our cub scouts robotics unit?
ReplyDeleteYes you sure can! Thanks
Deletecool!
ReplyDeletenice blog
ReplyDeleteThank you!
DeleteThis is a brilliant idea. Can I use this also in my English language classroom? Thank you
ReplyDelete